Tuesday, June 7, 2011

Party!

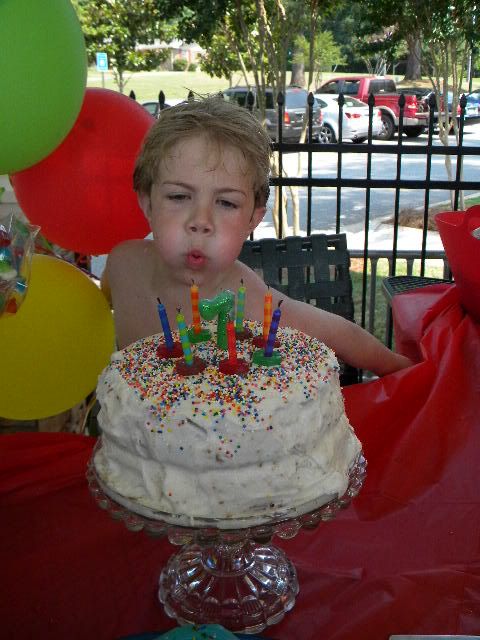
This weekend we celebrated our middle man's 7th birthday, even though he won't technically be 7 until later in the month. Thought it would be best to celebrate at the first of the summer before all of this friends from school were off on vacations and camps. And since his birthday comes right after we get back from vacation I figured it would be best to do it beforehand, while I still have some energy. ;)

I really LoVe to plan a party....so much that I've tossed around the idea of starting a little party planning business the last month or so. Not sure. But I sure had fun planning this one. :)
Kinda crazy about this particular client. ;)
Photobucket
He's my only summer baby, and I really love a summertime pool party. Thankfully, he does too.

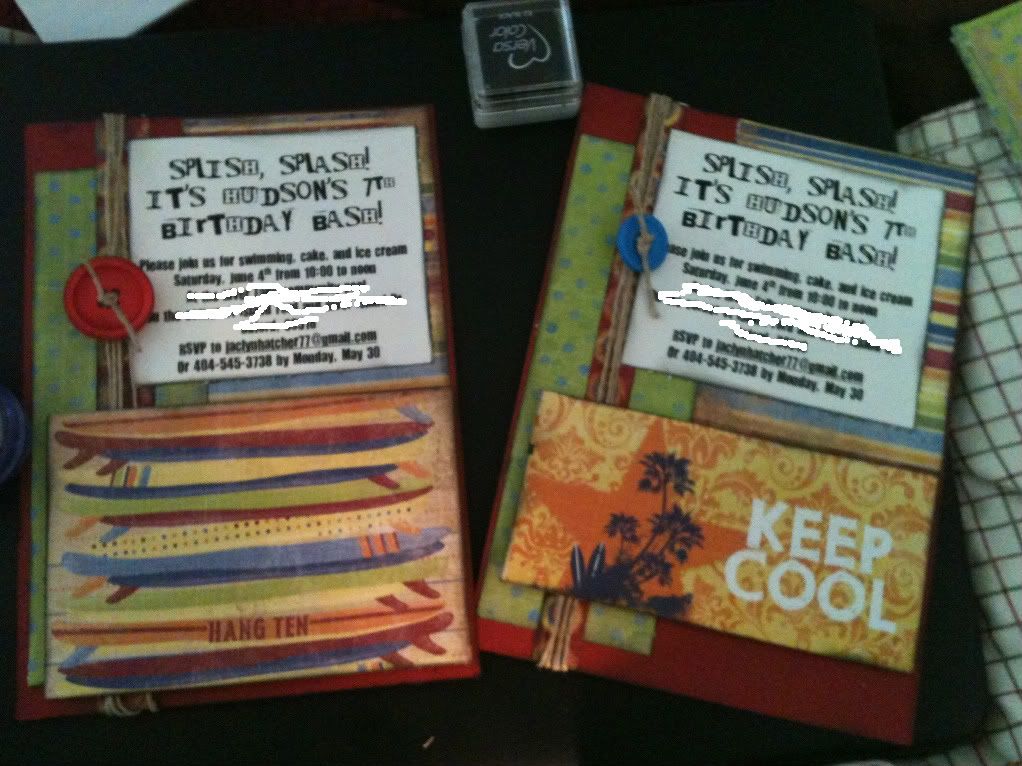
I made the invitations last month....sorry about the poor quality of the photo. It was taken on my phone, and the lighting was horrible. But you get the idea. And yes, I tried to erase the address info on there...assuming you figured that out, but felt the need to give an explanation. ;)
Photobucket

This is the first party we've had here where we didn't have family here. It was weird. Thankful for the sweet friends and neighbors who were there to love on us and make Hud's day special.
Usually my mom makes the cakes, cupcakes, whatever we need for the party. This is not my area, but I did have fun with the fish cupcakes. Not as good as Mom's, but they were fine.
Photobucket

Got the idea for the gummy fish skewers online, and thought they were so fun, and a great party favor alternative to giving a bag full of stuff from China that is just going to end up in the trash.
They were a hit! These gummies come in just about every shape you can imagine, and there are lots of online candy companies. I ordered these from www.nutsonline.com
Photobucket
The fishy beachballs came from Hobby Lobby. I also filled little sandbuckets with some of Hud's favorite things: goldfish crackers, peanut butter M&M's, watermelon, etc. Caught a really good sale on cokes, and iced them down for drinks and we were set!

How in the world is this baby almost 7?
Photobucket


Peace out, people!
Photobucket

Thursday, June 2, 2011

Reveal Day and a Give Away!!

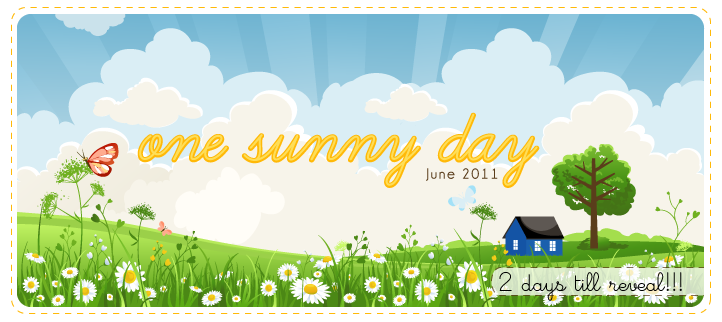
Happy Friday! As you well know by now, this month's Front Porch Kit, "One Sunny Day" is now available for order! Go to www.frontporchkits.com for details and to order yours today. :)

Pretty sure my favorite thing about this month's kit is the big tree.
Photobucket
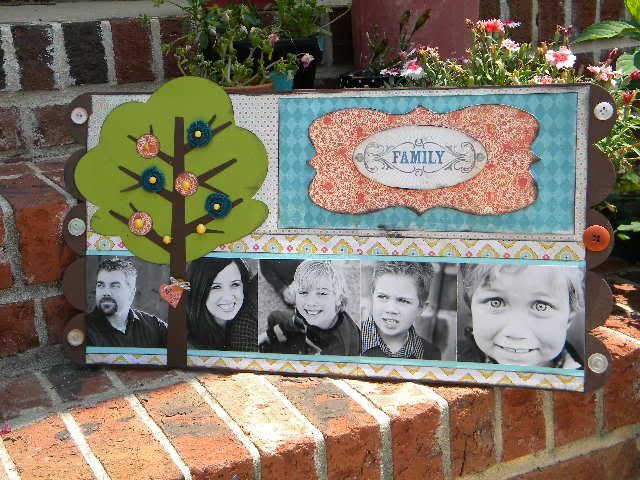
I'm a sucker for a tree or a bird..what can I say? So I did a little different take on a family tree project. I used a chipboard banner from Daisy Bucket as the surface, then had the tough job of figuring out which papers from this fab kit to use. :)
Photobucket
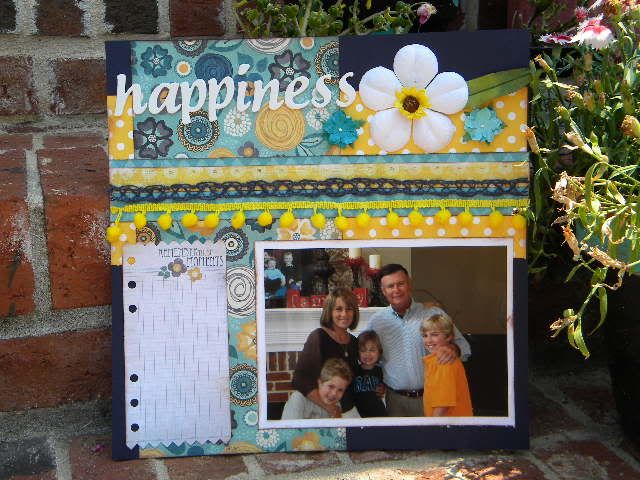
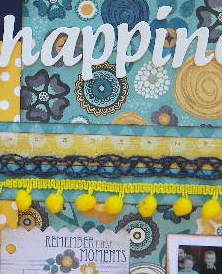
"Happiness" is spending time with Mimi and Papa, which we got to do last month. :)
Photobucket
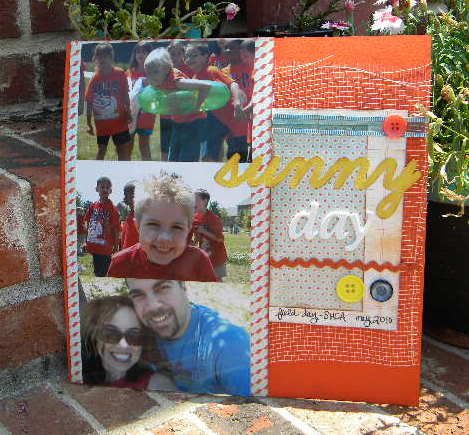
"Sunny Day"

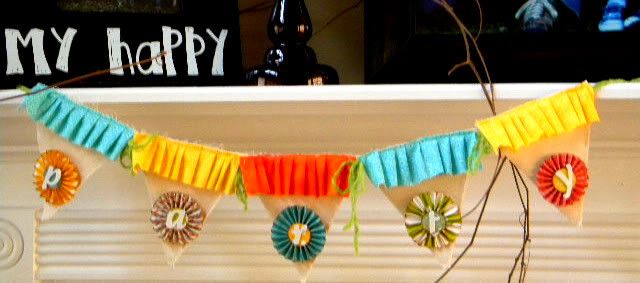
Party Banner
Photobucket
This Maya Road pennant mini book is so cute~ I had a hard time deciding what to do with it!
Photobucket
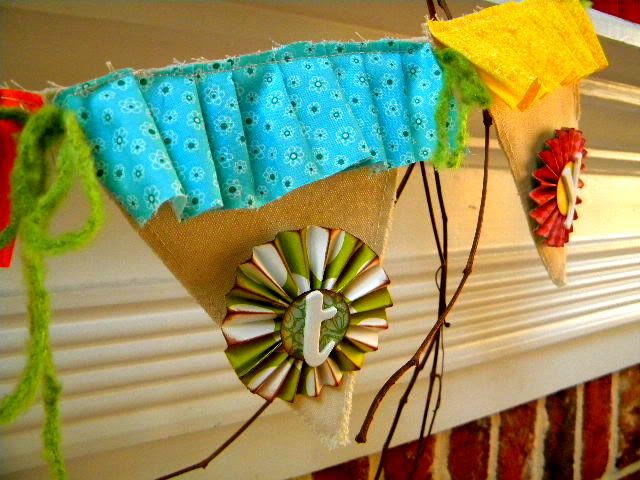
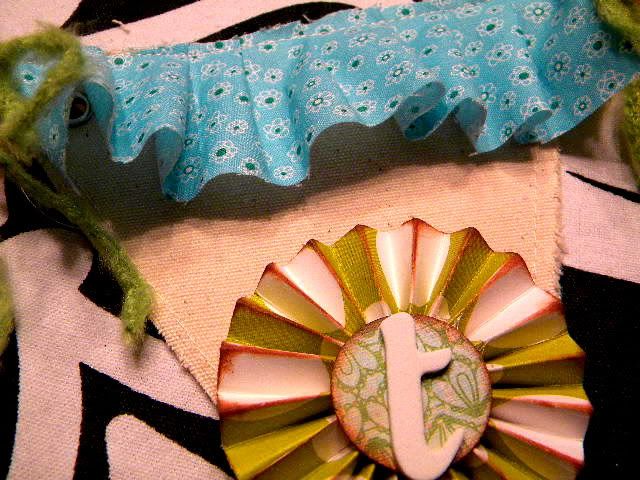
Being a mom of 3 boys, I don't get many opportunities to sew ruffles. ;) But I thought this banner needed some. And who doesn't love a party banner, right? ;)
So....I'm giving away this party banner to a random commenter on this post.
You have from today until Sunday to make a comment, and then I will randomly choose one of you as the winner!
Good luck, and please....comment away!

Wednesday, June 1, 2011

One more peek....

Good morning! Happy Wednesday! It's the first day of June and already we are reaching record highs here in Georgia. Yuck. Looks like it's going to be a long, hot summer.
Not sure how I feel about that....I'm kind of a mid-70's to 80's kinda girl.
Oh well. :)
We're down to the last two days of the countdown! And I still love this graphic as much as I did the first day. :)
Photobucket

This is my last sneak before the big reveal day on Friday. Tomorrow I've promised a pool day to the boys, and it's also the hub's 35th birthday (still not sure how we've reached that age already...seems like yesterday we were celebrating 25), so we'll be partyin' tomorrow night. ;)
Photobucket
But to make it up to you, I'll be doing my very first giveaway on Friday!
Very exciting stuff going on here, isn't it. ;)
Stay tuned...check back on Friday for your chance to win!

Tuesday, May 31, 2011

Another sneak

Photobucket
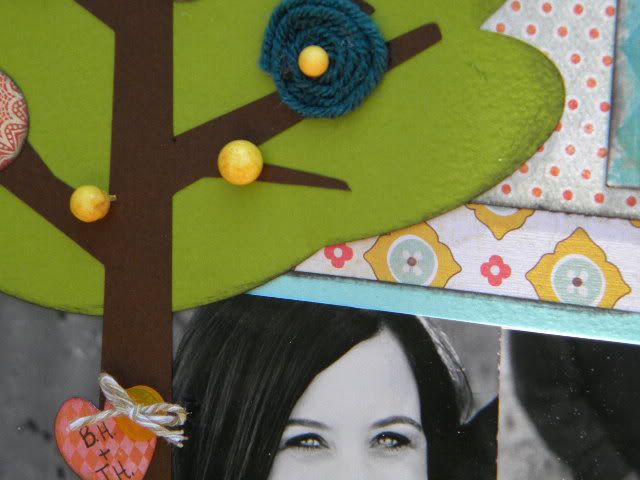
Here's a couple of little tiny sneaks! I cropped them out of the full size pics...guess that's why they're so small. Sorry. :/

Photobucket

Photobucket
Full size pics to come on Friday!

Monday, May 30, 2011

A Sneak...I Promise ;)

I mean, seriously...
Photobucket
...how cute is this countdown graphic?
Makes waiting until Friday a little more bearable, doesn't it?

As you well know by now, there's never a dull moment in my house, and this past week has proven it. :) Last week was the last week of school for the boys and we made a last-minute trip to Nashville over the weekend. It was fun! Quick, but fun...check out our pics herehttp://www.hatch-partyoffive.blogspot.com if you'd like. Nashville is one of my favorite places....I'm a big country music fan (I like all kinds of music, really) and Harrison and I LoVe Johnny Cash and June Carter, so this was a "mother ship" moment for us. We will go back again soon when we have more time.
And speaking of time....there hasn't been as much of it as I'd like to get my projects finished. Have a couple more to finish up today, so have no fear...there'll be something new posted each day this week.
But you're not here to read about that, are you? ;)
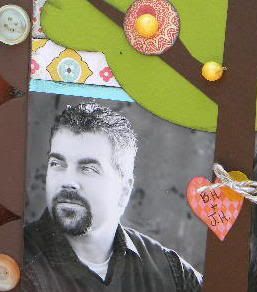
Here's a little sneak.
Photobucket
I know I'm biased and all, but boy is he cute. ;)
Photobucket
And another one from the same project.
More tomorrow!

Thursday, May 26, 2011

A Teacher Gift and the Rebellious Sneak

We're at day one of summer break at our house, and so far, it's fanstastic....relatively peaceful except for the occasional begging to go to the pool (it's looking like rain, but I think we're going to give it a try anyway here in a while). :)
Yesterday was the last day of school, and I just can't say enough how incredibly thankful we are for the boys' school. We LoVe it there, love their teachers....it's been amazing.

There seemed to be something extra special about Hud's class this year.....just a really sweet group of kids, one incredible teacher, and a wonderful assistant. I try to take turns with which class I spend my time with, splitting the time when I can. This year it was my turn to help with Hud's class...next year it will be time for Harrison's again.
I talked to some of the other moms and we decided it was a good idea to a little something extra to celebrate this year and give the teacher a special memory.
Photobucket
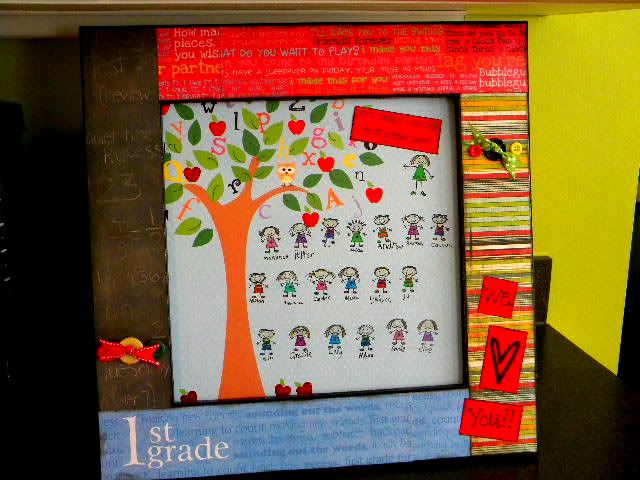
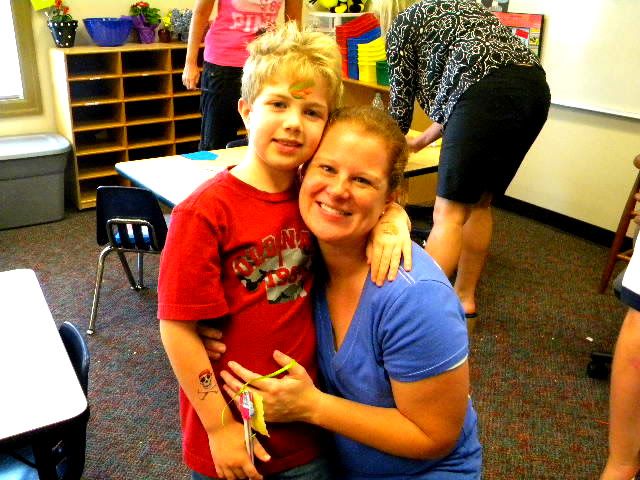
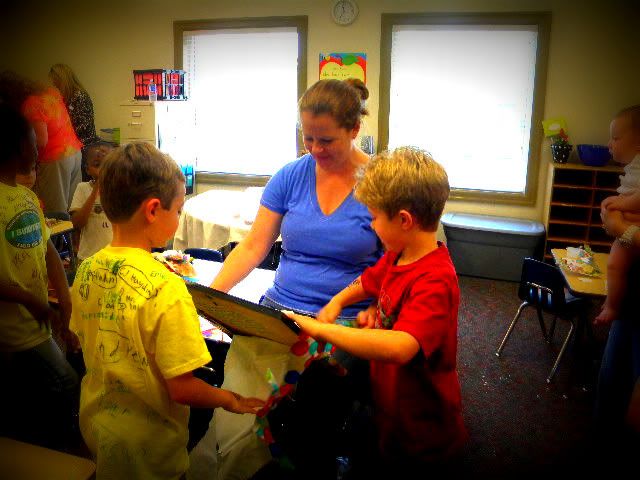
I made this frame and stamped all of the kids, and then went up to the school one day to let each of them sign under their person. It was funny listening to the talk and laugh about what they looked like. :)
Photobucket
The class presented the frame to Mrs. D yesterday....I think she liked it. :)
Photobucket
We couldn't have asked for a better teacher for Hud this year. She completely "gets" him, and has a special understanding of each of her students. Hud keeps telling me how much he's going to miss her and that he really wants her to move up to 2nd grade next year too. ;)
Me too, buddy. So ready for summer break, but sad to see this year come to an end.

Moving on....
I've had my May Front Porch Kit sitting on the kitchen table for a few days now, and I'm collecting photos and surfaces to use with it, brainstorming...getting really excited.
I'll be really busy tomorrow. :)
Photobucket
I wish I could give you a real sneak, because I have to say....I have loved each kit so far for different reasons. But this month's is definitely my favorite.
Love it BiG tImE. :)
But because I'm a rule follower (mostly) ;)....I can't really show you anything yet.
But here's a little peak in the box.

Photobucket

There...does that help? ;)

Trust me...it's awesome. Like I said, my favorite so far. You're going to love it.

REAL sneaks to come in a few days. :)

Monday, May 9, 2011

Dining Room Re-Do (and a tutorial!)

Last weekend the hubs and I finally painted the dining room...it's sat here at the entrance of our home for a year looking pretty drab and sad. ;) Don't know what took me so long, but I am LoViNg the results!
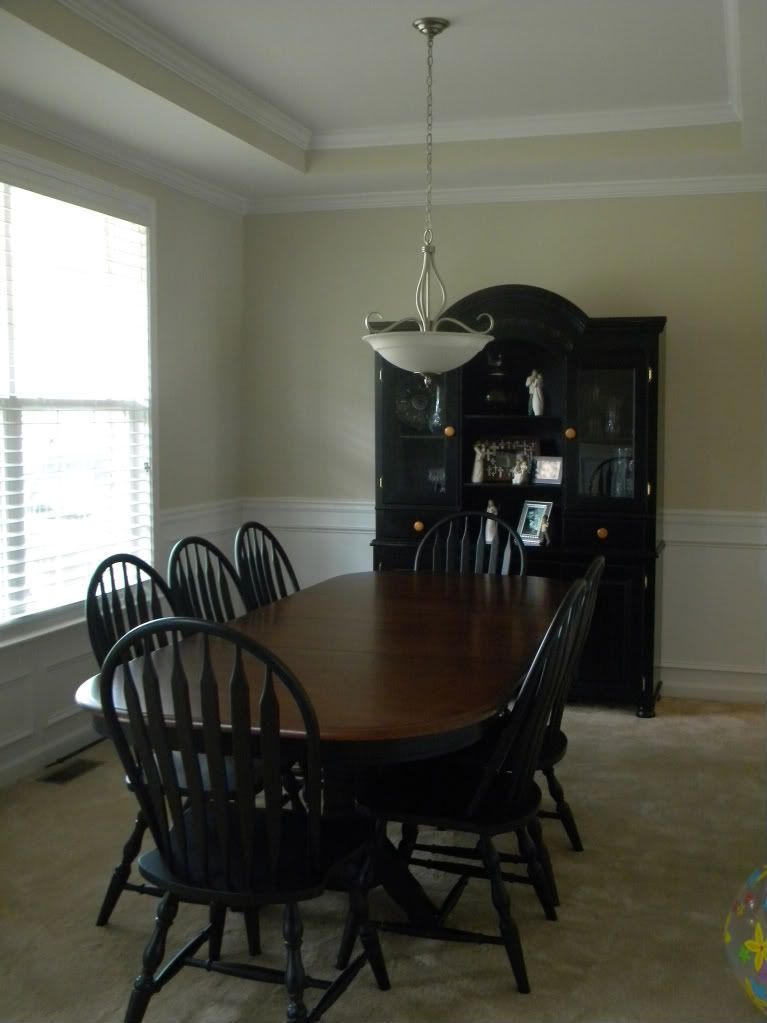
Here's the before photo:
Photobucket
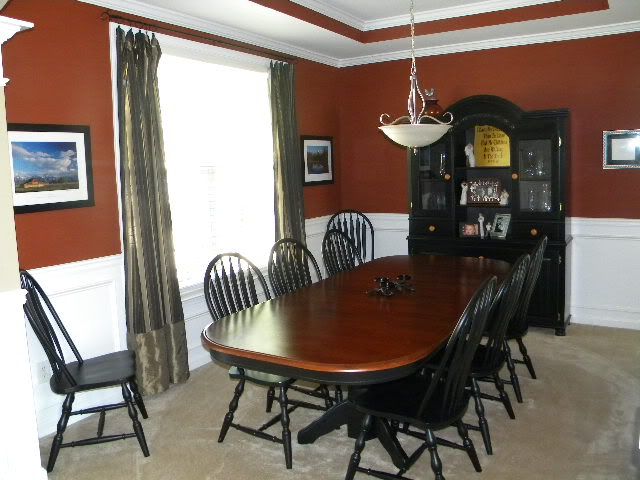
And....here is the after photo! Much more fun, right? :)
Photobucket
The color is called Red Pepper by Behr at Home Depot. At first it had more of an orange tint to it than I wanted, but thankfully as it dried it was exactly what I had in mind. Whew. Reds can be a little scary.
Photobucket
The view out to our front porch.
Photobucket
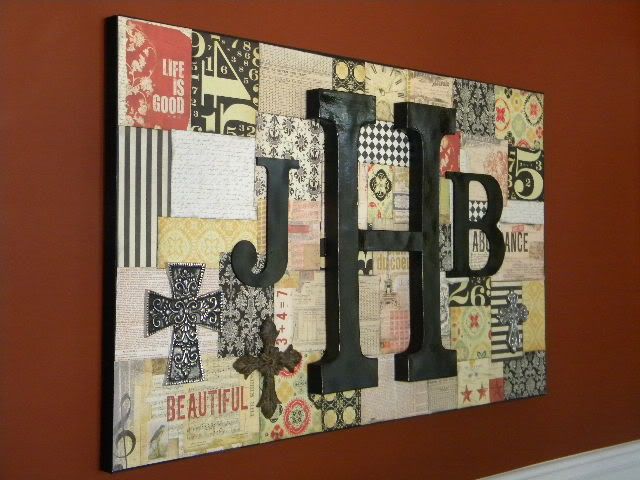
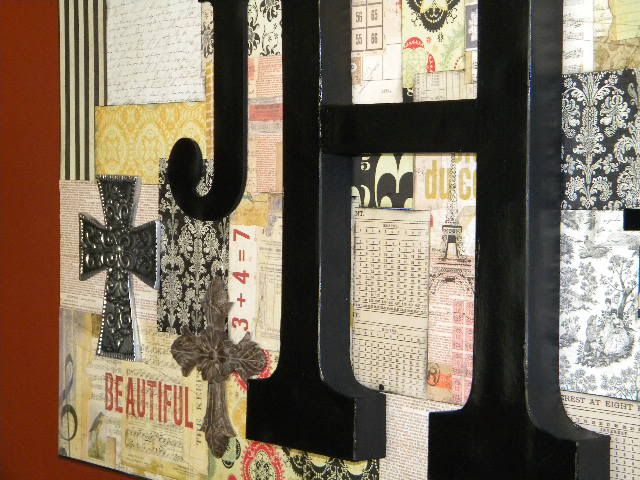
I made this canvas to hang in the dining room, recycling several things in our house. I'm a thrifty girl. ;) Honestly....it saved me a trip out. :)
This really is a simple project, with the hardest part making the papers fit together. It's kind of like a puzzle, but it's not too horrible. Especially if you have plenty of extra paper to spare. You will need several different pieces of 12x12 scrapbook paper that coordinate. I love to mix paper lines, but most of these are from 7 Gypsies. Love that company, and wanted a antique/vintage feel to this canvas, and their papers are perfect for that look.
Photobucket
You will also need a canvas (paint the outside edge first), mod podge, a sponge brush, and whatever monogram letters, crosses, or anything else you would like to add to your canvas. This canvas is large (about 30"x50"), but you can use any size you would like. My large H was purchased at Joann's, and the J and B at Hobby Lobby, painted black and sprayed with polyurethane. The crosses were some extra ones laying around my house, needing a home.
Photobucket
After all of that is done, it's time to cut your papers. There is no exact science to this, just start cutting different size squares and rectangles. Of course, with the papers I chose, some of them needed to be cut to show the words, the numbers, etc...otherwise I just used random cuts. After all of your paper is cut start laying the papers out on the canvas, making sure the overlaps aren't all going the same way. After all of your paper is layed out, you can start mod podge-ing (is that a word?) the papers down. I inked the edges as I went, until all of the papers were down. I opted not to mod podge on top of the papers...you can do that if you choose.
After those were dry, I added the letters and crosses on top, using E-6000. Most amazing glue EVER.
And....you're done!