
Last weekend the hubs and I finally painted the dining room...it's sat here at the entrance of our home for a year looking pretty drab and sad. ;) Don't know what took me so long, but I am LoViNg the results!
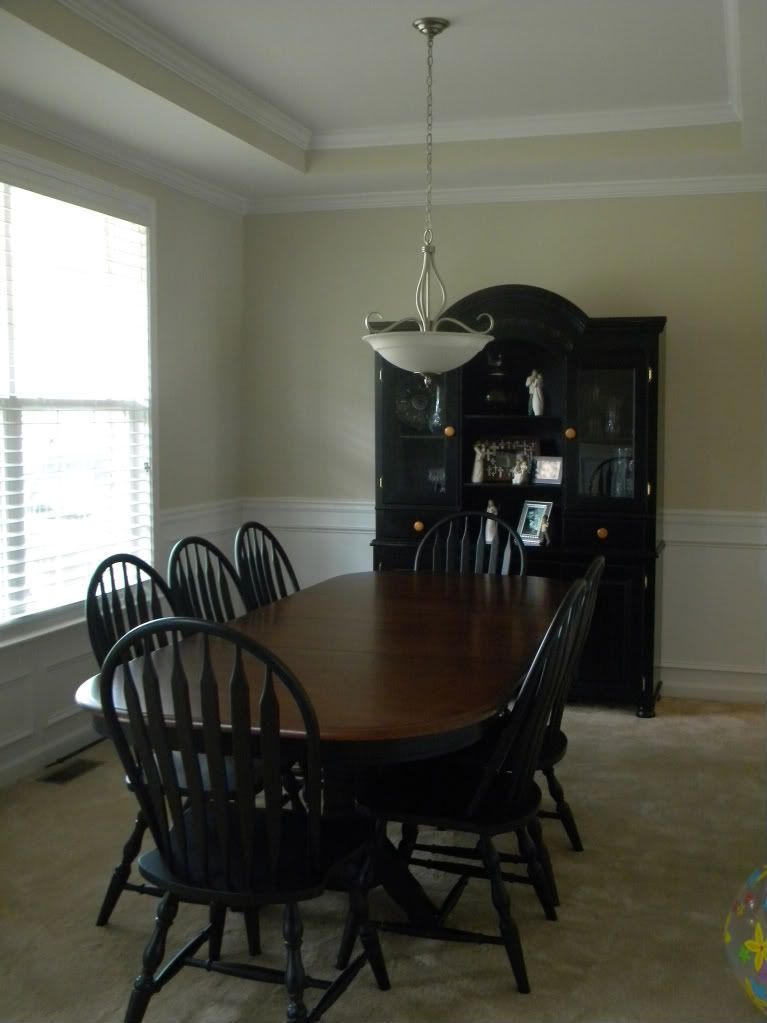
Here's the before photo:

And....here is the after photo! Much more fun, right? :)

The color is called Red Pepper by Behr at Home Depot. At first it had more of an orange tint to it than I wanted, but thankfully as it dried it was exactly what I had in mind. Whew. Reds can be a little scary.

The view out to our front porch.
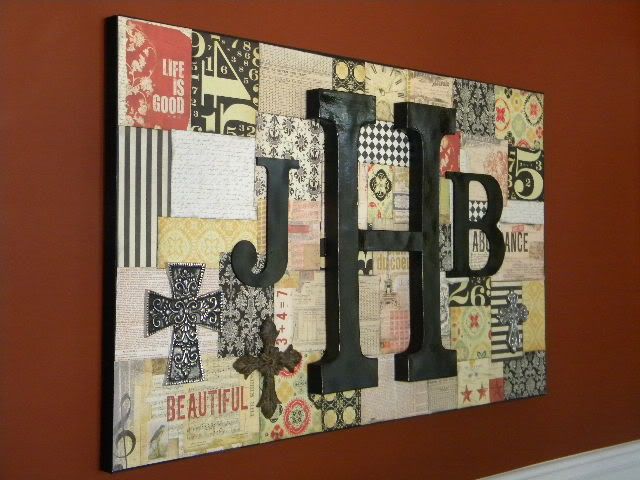
I made this canvas to hang in the dining room, recycling several things in our house. I'm a thrifty girl. ;) Honestly....it saved me a trip out. :)
This really is a simple project, with the hardest part making the papers fit together. It's kind of like a puzzle, but it's not too horrible. Especially if you have plenty of extra paper to spare. You will need several different pieces of 12x12 scrapbook paper that coordinate. I love to mix paper lines, but most of these are from 7 Gypsies. Love that company, and wanted a antique/vintage feel to this canvas, and their papers are perfect for that look.

You will also need a canvas (paint the outside edge first), mod podge, a sponge brush, and whatever monogram letters, crosses, or anything else you would like to add to your canvas. This canvas is large (about 30"x50"), but you can use any size you would like. My large H was purchased at Joann's, and the J and B at Hobby Lobby, painted black and sprayed with polyurethane. The crosses were some extra ones laying around my house, needing a home.

You will also need a canvas (paint the outside edge first), mod podge, a sponge brush, and whatever monogram letters, crosses, or anything else you would like to add to your canvas. This canvas is large (about 30"x50"), but you can use any size you would like. My large H was purchased at Joann's, and the J and B at Hobby Lobby, painted black and sprayed with polyurethane. The crosses were some extra ones laying around my house, needing a home.

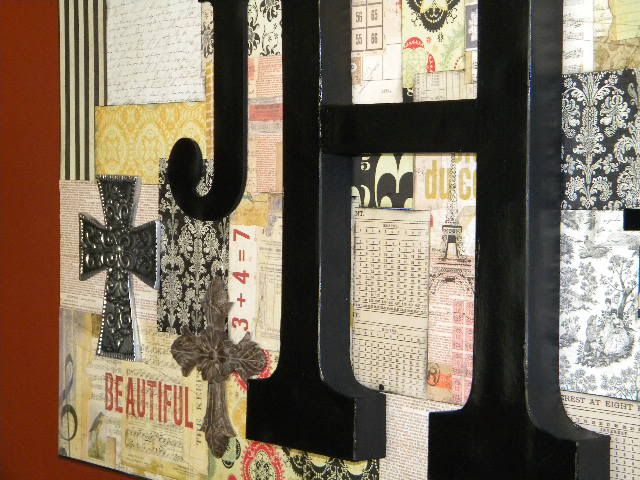
After all of that is done, it's time to cut your papers. There is no exact science to this, just start cutting different size squares and rectangles. Of course, with the papers I chose, some of them needed to be cut to show the words, the numbers, etc...otherwise I just used random cuts. After all of your paper is cut start laying the papers out on the canvas, making sure the overlaps aren't all going the same way. After all of your paper is layed out, you can start mod podge-ing (is that a word?) the papers down. I inked the edges as I went, until all of the papers were down. I opted not to mod podge on top of the papers...you can do that if you choose.
After those were dry, I added the letters and crosses on top, using E-6000. Most amazing glue EVER.
And....you're done!


I love the color you painted the room! And I LOVE the canvas idea! Great job!
ReplyDeleteRoom looks great! Love the canvas! And mod podge-ing must be a word since I use it all the time!
ReplyDeleteI just noticed the three crosses (I'm guessing for the boys). I want to try this once we have a new house. Do you know if JoAnn's still has those big letters?
ReplyDeleteI think that is the same color red as my kitchen. I love it too.
Thanks for sharing.
Kimberly~ I just happened to have 3 crosses that I hadn't found a place for in the house. Really didn't have anything to do with the boys. :)Apparently I like things in groups of 3's. ;)
ReplyDeleteI'm not sure if Joann's is still selling those big letters or not. I've had that big H for awhile. Hopefully you'll be able to find your R.
totally awesome...may be on my summer project "to do " list! Hobby Lobby has such a great selection of gorgeous crosses and they are always on sale...love the 7 G and CC papers!
ReplyDeleteif you dont mind me asking what kind of ink did you use?
ReplyDeleteBeautiful!! I am going to try this! What does inking the pages together mean...this is all new to me.
ReplyDeleteThanks for sharing!
Laura
from TX
I was not sure what you meant by saying you didn't modpodge the top of the papers? I thought that is how you use modpodge....on top? Please explain that portion.....I love this idea and the look....I can't wait to try it!!!
ReplyDeleteThx
Patricia
from California
She used the modpodge to glue the papers down to the canvas, but then she didn't put it on top of the paper which is usually the 2nd step...
ReplyDeleteInking the paper means, you take a stamp pad (black in this case) and lightly rub it across the edges of the paper to darken the edges.
This is a lovely picture. I am tryingto do something like this myself.
ReplyDeletelove this idea!
ReplyDeleteI am about to start doing this canvas project for our living room. I am using our now-two-year old wedding cards for the background with our last inital in the middle. Thank you so much for posting how to do this project, I would have messed it up horribly by not doing the edge first!
ReplyDeleteThis is perfect for a project I am doing in our master bedroom! Thank you for sharing!! You made me think I have so many random nick nacks that I could easily put onto a canvas! Beautiful work!
ReplyDelete